If you’re anything like me, you spend a lot of time online. Like myself, you’re probably also seeing way too many advertisements, many of which contain terrible crop jobs. My new years resolution is to uplift and help others more, and my first notable act of 2020 will be teaching ya’ll how to improve your masking game. Let’s get started…
Step 1 – Grab an image
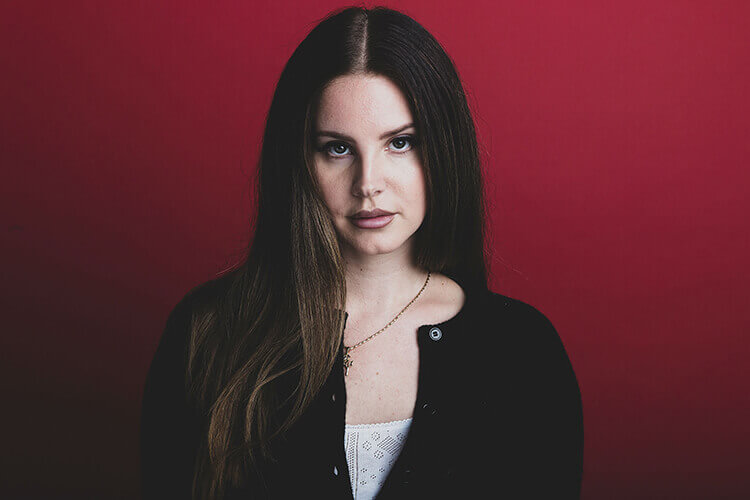
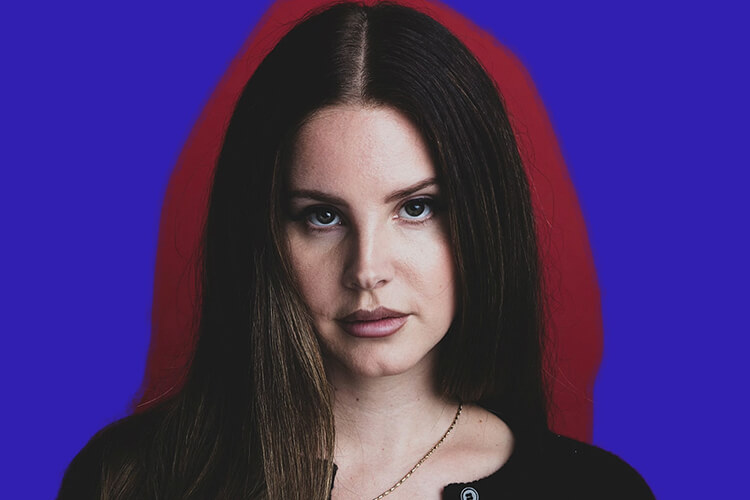
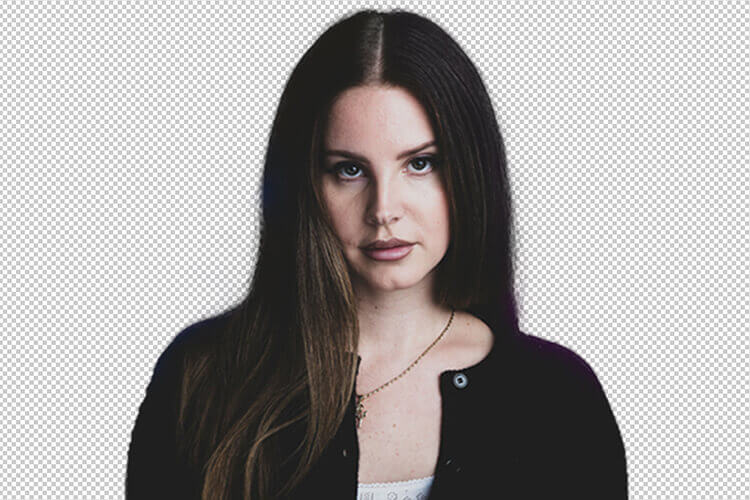
Grab your image and chuck it in photoshop. Pexels have a ton of high-quality images you can use for free. Obviously I used google images for my example image but you probably, definitely shouldn’t (unless you’re just practising).
Sadcore Musician
Step 2 – Select your object
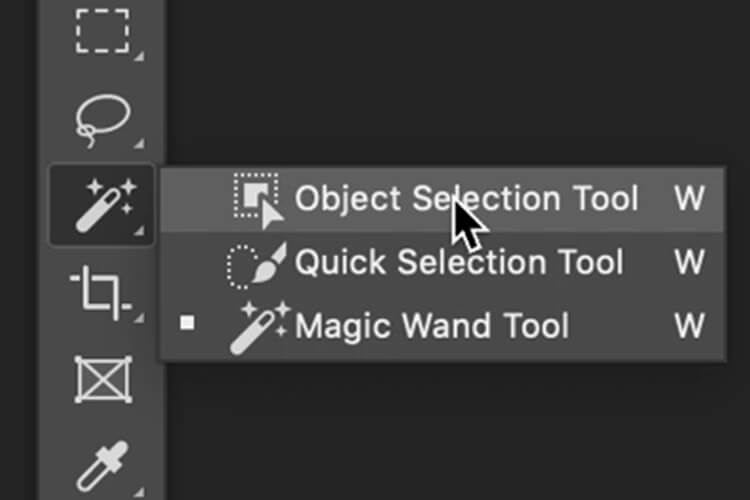
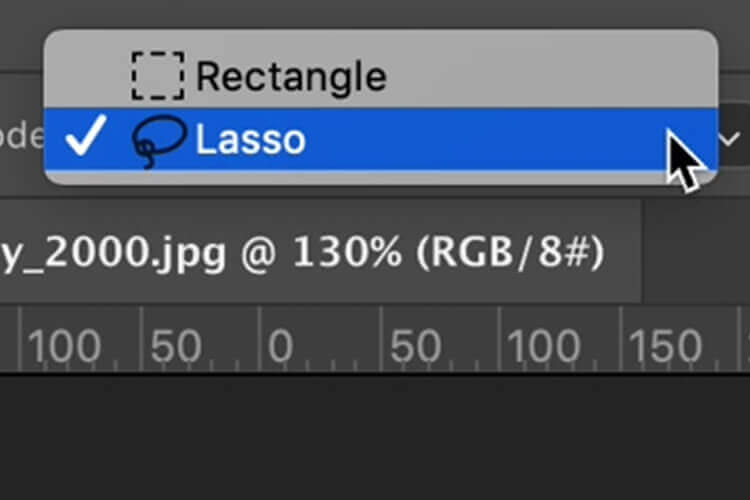
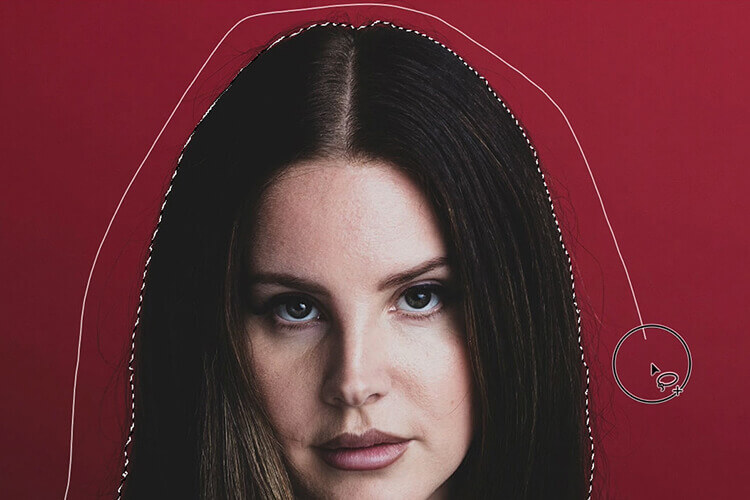
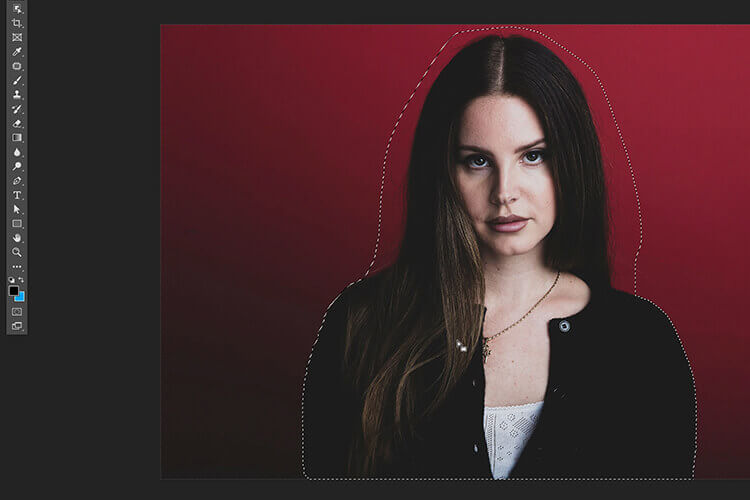
Select the ‘Object Selection Tool’In the top toolbar, change the mode from ‘Rectangle’ to “Lasso’Roughly trace around your humanSelect the ‘Lasso Tool’ and roughly expand the selection around any areas that you want to include in your selection while holding shift. For this example, I will add the stray hairs to the selectionYour final selection should appear something like this
Step 3 – Masking
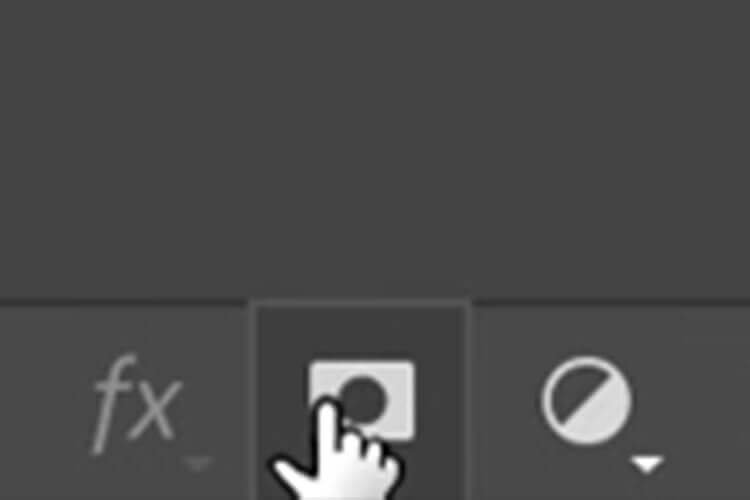
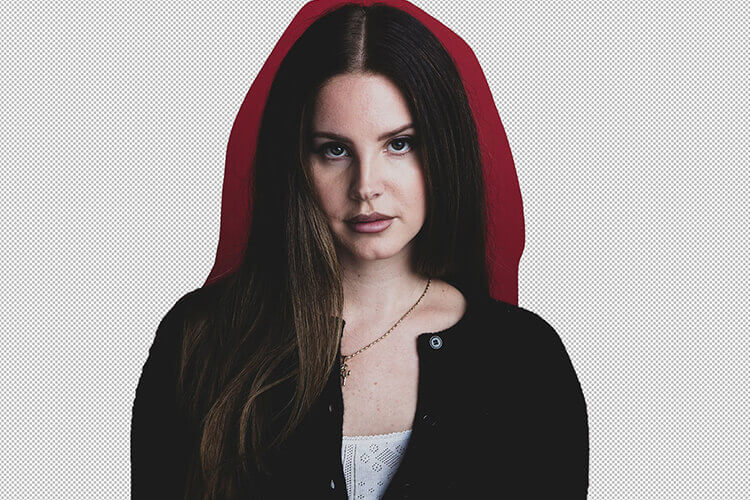
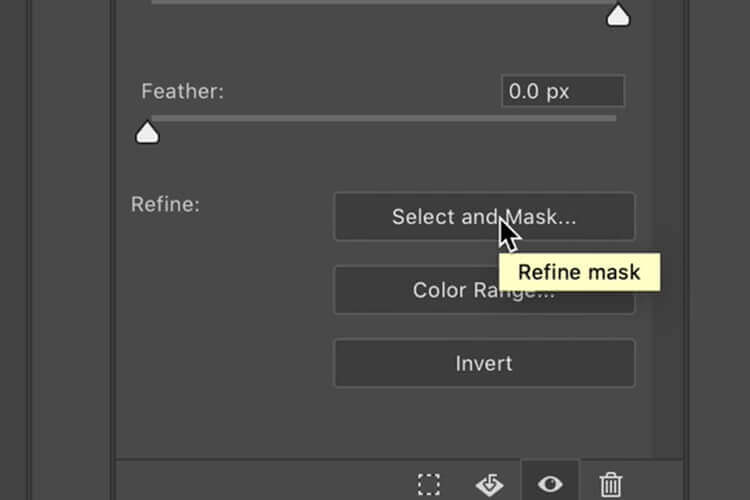
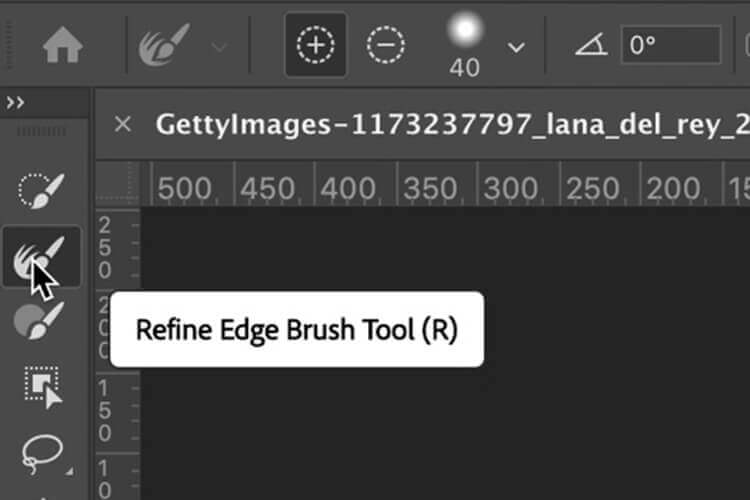
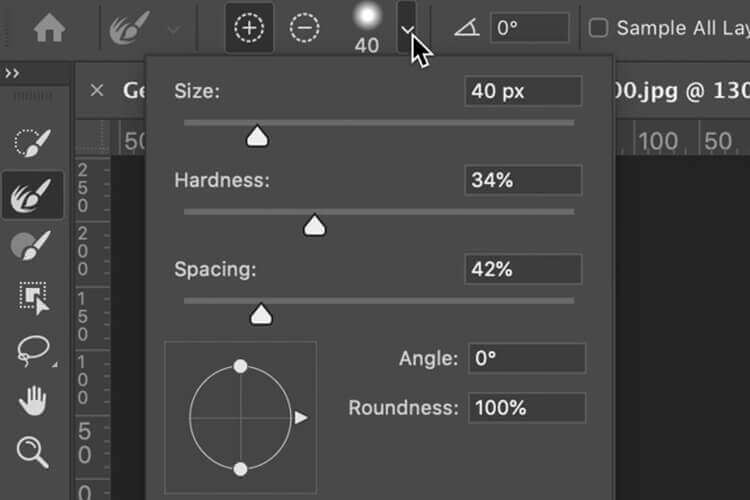
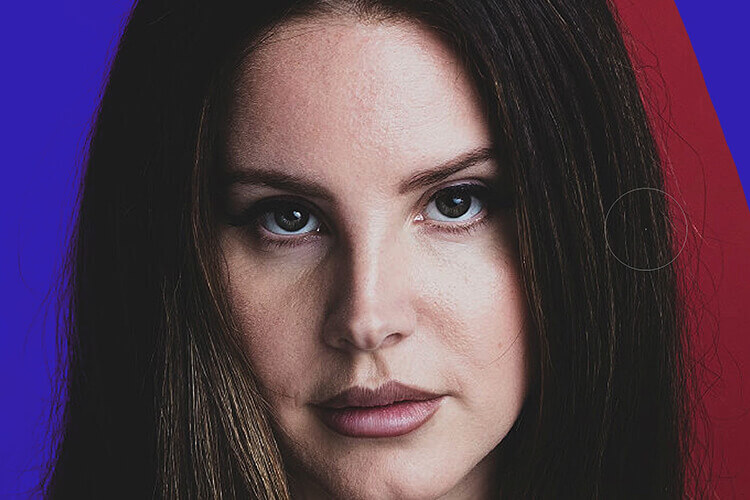
With your image layer selected, hit the ‘Add layer mask’ in the layers panelYour selection should be cut out of the original backgroundUnder ‘Properties’, hit ‘Select and mask’This will add a mask colour into the empty areas of the image. Make sure you choose a contrasting color.Select the ‘Refine Edge Brush Tool’Choose a size and hardness that suits you, depending on your imageUse the tool over the parts of the image that still have the original image background. This will remove the background while keeping Lana and her stray hairs visible.Your human should now be perfectly cropped!
Bonus Step – Color Replacement
After you use this method of cropping, your image may still be holding onto some of the colours of its original background. This will look quite obvious when you add a new background.
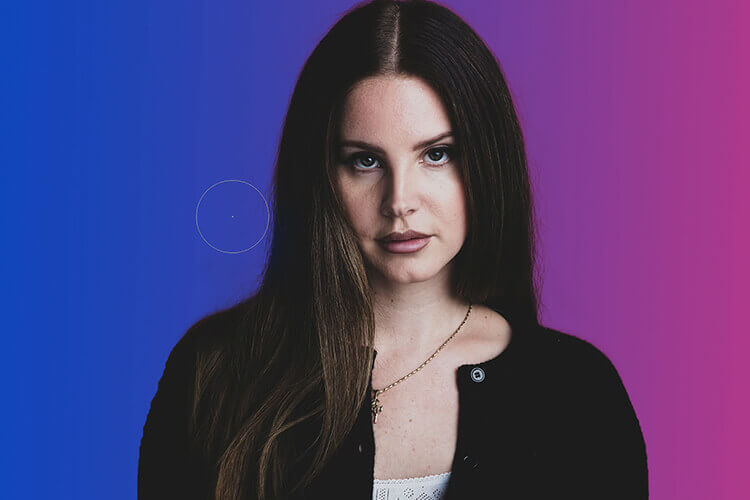
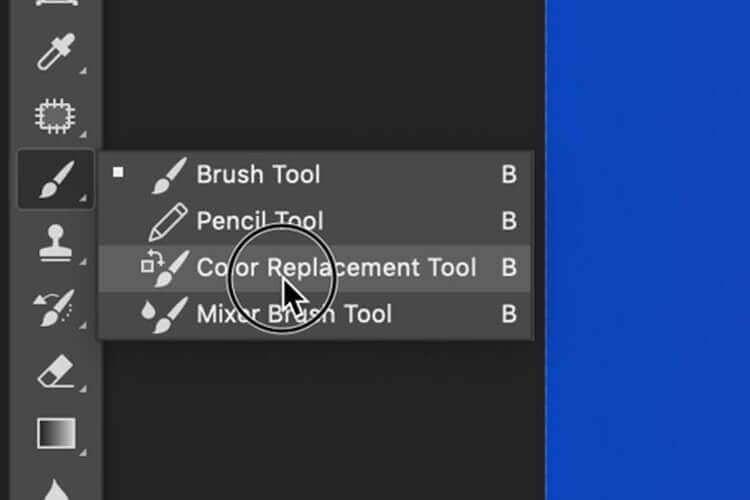
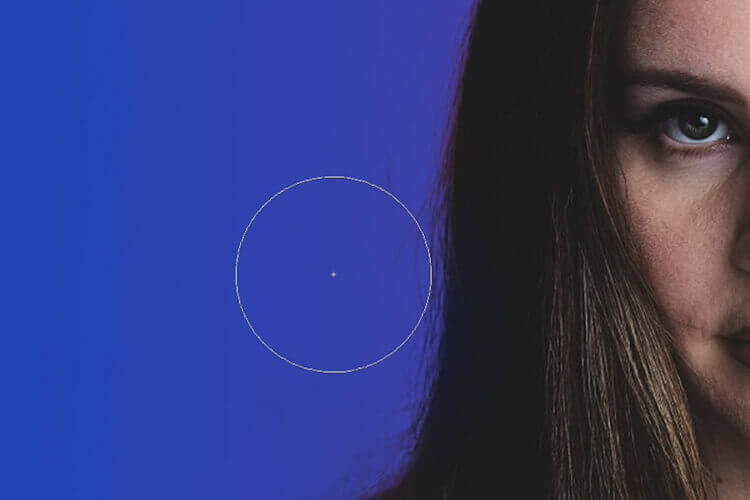
Add a new background to your image. Now that I’ve added a contrasting gradient, you can clearly see the red hue that surrounds Lana’s headSelect the ‘Colour Replacement Tool’Select your desired paint colour. I used the ‘Eye Dropper’ tool to select a colour from the new background. Paint over the tinges of colour you wish to change. This will only change the hue, and won’t cover any of the image as the standard paintbrush would. The edges of your image should now blend into the background seamlessly.
The finished product
With a few extra adjustments, of course.
Like what you see? Subscribe now to receive regular updates
ABOUT THE AUTHOR
Haydon Macleod
Haydon is a member of our design team, and has already shown comprehension and collaboration skills beyond his years. Top it all off with a wicked (if not sometimes weird) sense of humour - the perfect fit for our team!